craigrussell
Technical blog from Craig Russell.
This post describes how to install Fathom analytics on an Amazon EC2 instance. Fathom allows you to have privacy-respecting website analytics. If you host it yourself, you’re the only one who gets to see that data and the software is FOSS.
Alternative to Google Analytics
Fathom is best described as an alternative to Google Analytics. GA has pervaded the entire web, and has done so by offering itself for free. In exchange for all the data about your visitors you could hope for, Google gets access to this information too and can track your users around the web.
Isn’t there a better way? A way that doesn’t sell out your website visitors? Oh hi there Fathom Analytics 👋, I’m glad to see you exist.
What is Fathom Analytics
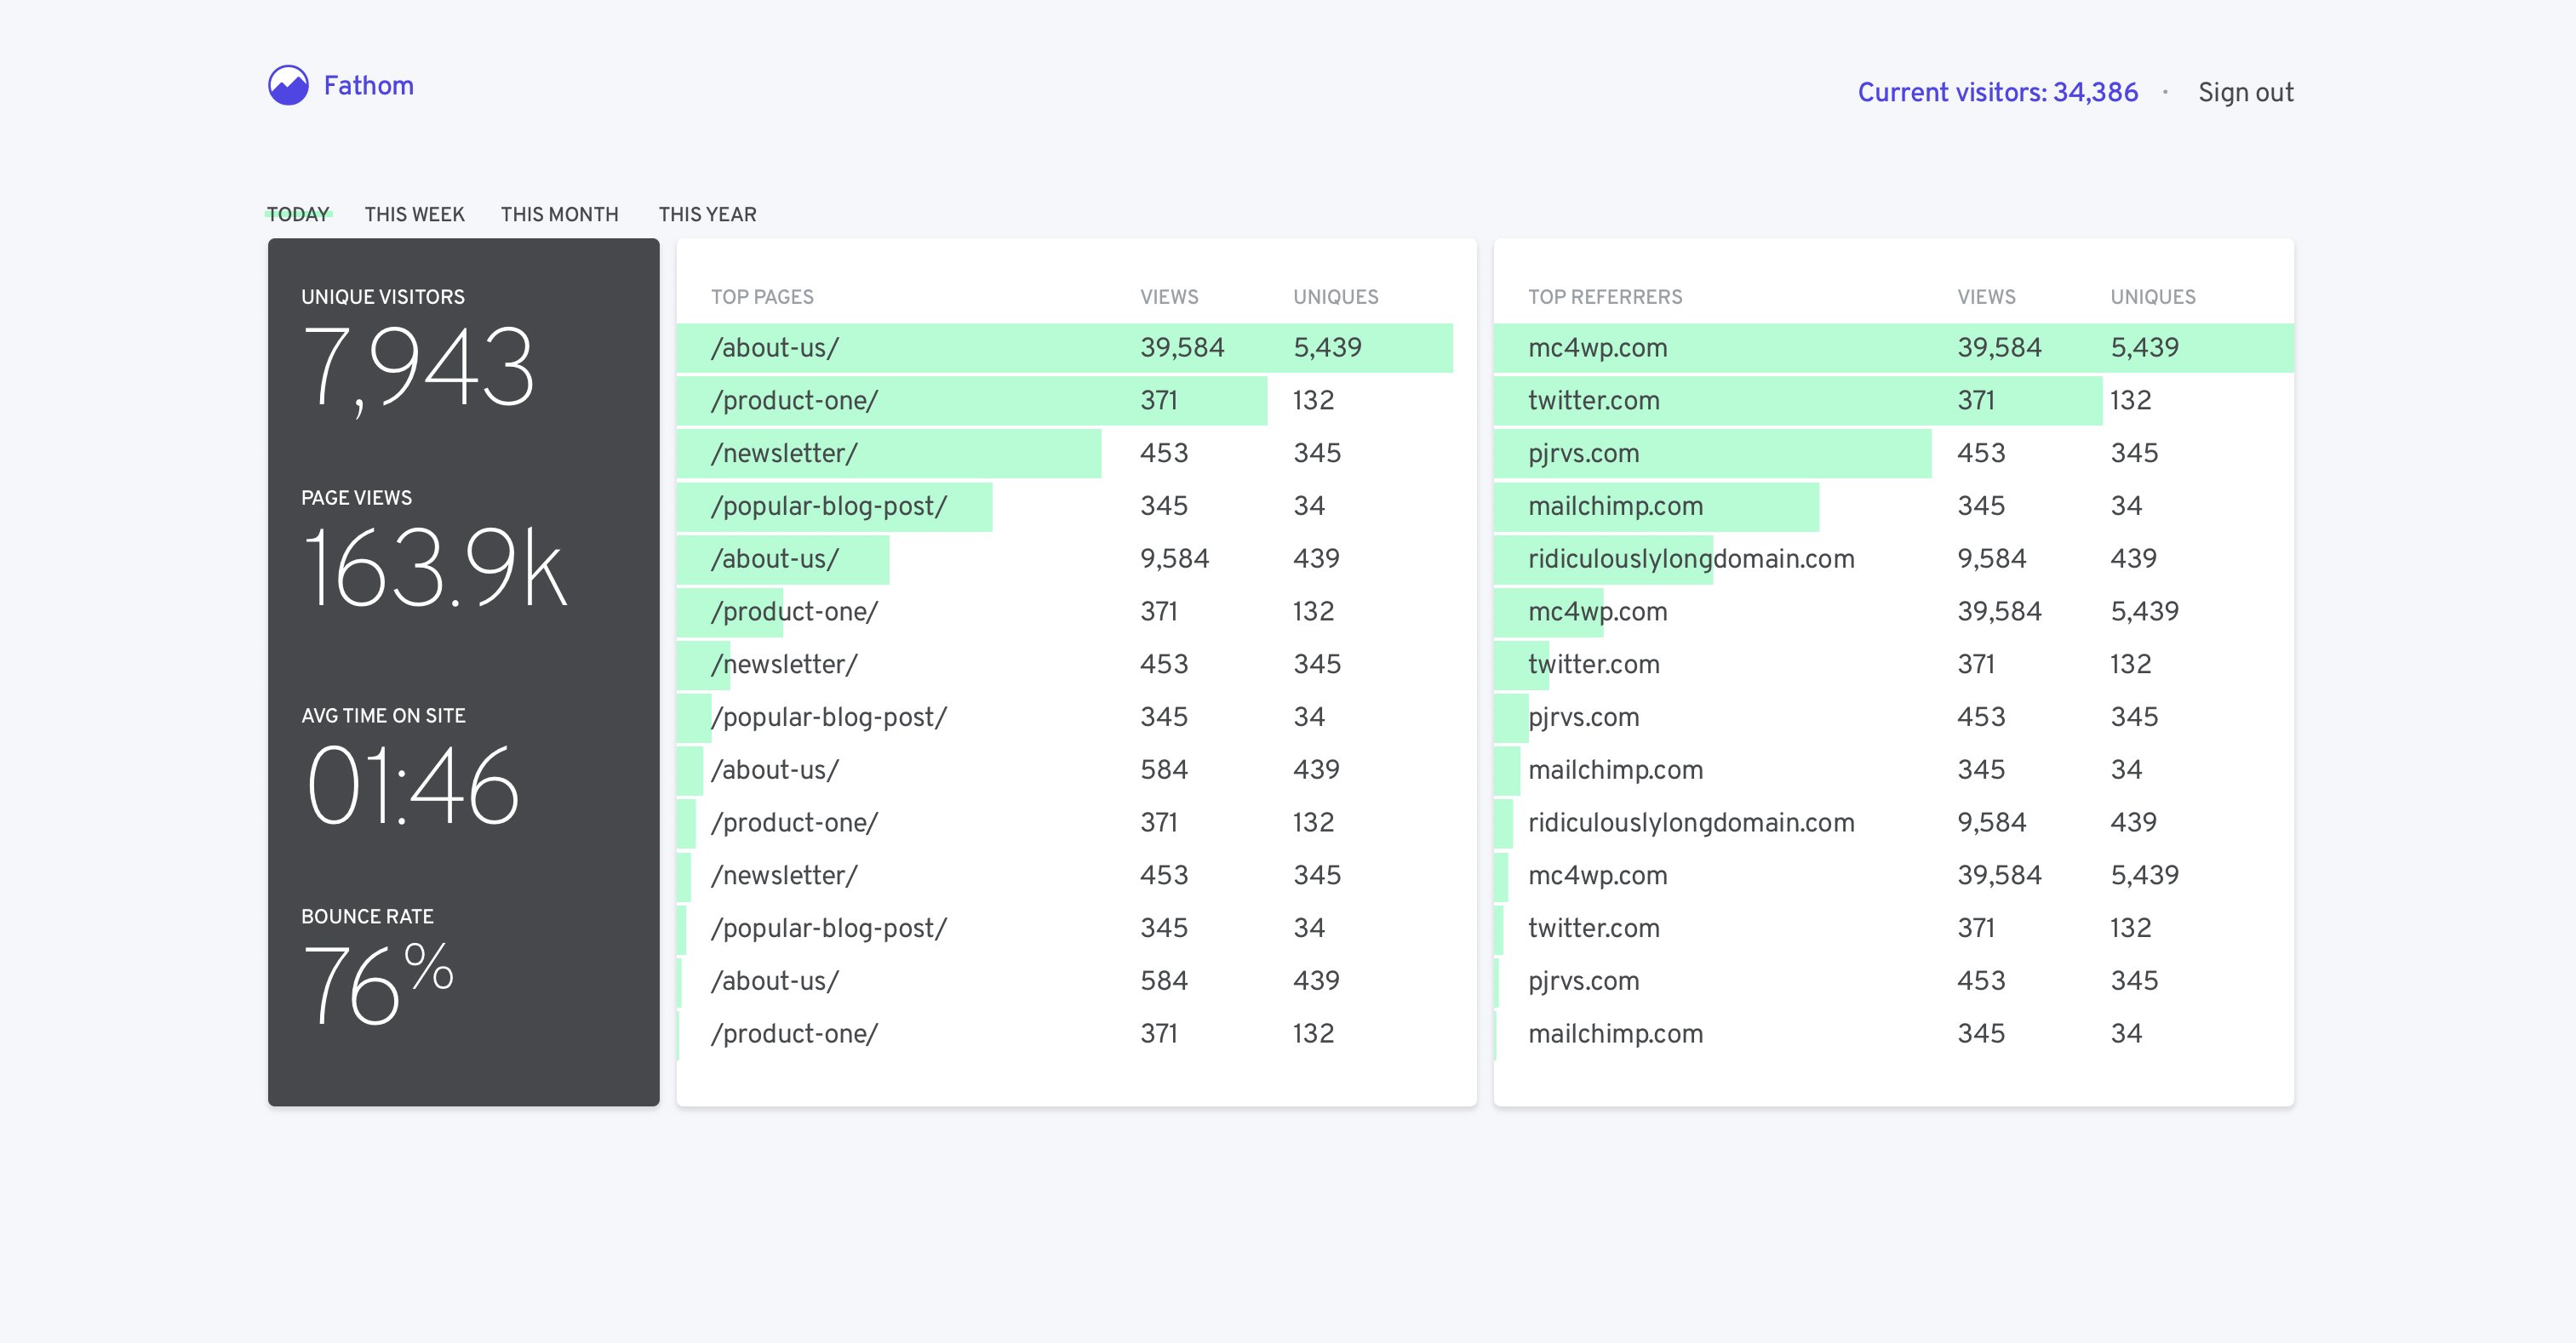
Fathom Analytics provides simple, useful websites stats without tracking or storing personal data of your users.
Fathom is FOSS and you can find it on GitHub.
Note, at the time of writing, their premium offering’s codebase seems to have moved on somewhat from the free version, and at the moment it doesn’t look like they are immediately accepting PRs for improvements.
Hi Craig - There's been a lot of change over the last few months and we've re-built our pro version to scale to increasing demand, so we've had less time for the OS version. We are going to be accepting PR requests in 1-2 months, and would welcome PRs :) Thanks!
— Fathom Analytics (@usefathom) March 13, 2019
Sometimes this just means a company is focussed elsewhere, or doing large refactoring under the hood. Fathom did reach out to me to confirm they remain committed to having a free product available:
A core guiding principle with Fathom is that privacy shouldn’t just be for those who can afford it. There will always be a free offering.
Where to Install Fathom
If standing up your own infrastructure and installing it yourself isn’t your cup of tea, you can pay a monthly fee to access their fully managed version. This will be, by far, the easiest way to get going with Fathom. https://usefathom.com/#pricing
However, if like me you’d rather get your hands dirty and manage it yourself, you can use it for free. But you’ll need to find a place to install it. This place will also have to be 24/7 publicly accessible, as it will be hit each time someone views your website.
I chose to use EC2 as it has a generous free tier and should mean I can make use of it without having to pay any money.
This post will not detail how to configure an EC2 instance; go check out the official docs for more information.
Set up Fathom
Once your EC2 instance is up and running, you’ll want to ensure you’ve allowed network traffic into it, and configured it with an elastic IP address.
Then you’ll want to install Fathom. You should follow the official instructions for installing it.
Configuring Fathom
The official docs describe how to configure and install Fathom, and give an example of using NGINX to expose the Fathom service on a nice URL (so you don’t have to include the port number for example).
I didn’t use NGINX and I regretted it. I wish I had 😢. So if you can, you should use it.
I ended up using Apache and this is where I found most of my troubles. So I’ll share my solutions here in case anyone else is using Apache with Fathom, but please do look at NGINX if you can.
Automatically starting Fathom on boot
You’ll certainly want to do this, so follow the given instructions.
Troubleshooting
If you see errors like the following:
Failed to execute operation: The name org.freedesktop.PolicyKit1 was not provided by any .service files
Then run that command again with sudo to fix.
Setting Up SSL
You’ll likely want to have your Fathom installation accessible over SSL. Not only is this more secure for your users, but it might even be required depending on your domain and/or website.
The Fathom instructions for configuring SSL is catered for NGINX usage, and is short and sweet: use Fathom instructions if you are using NGINX. Otherwise, follow the official Amazon documentation for configuring SSL .
I recommend using Let’s Encrypt for getting and managing the SSL cert, as described in the docs above.
After the SSL cert has been created, note the locations of the SSL-cert files as you’ll need them soon if you’re configuring an Apache reverse proxy.
My Configuration
I have the following domain, for which I ultimately want page visits to be tracked. https://craigrussell.io
I have an instance of EC2 with an elastic IP address configured, and network security policy set to allow incoming traffic.
DNS Records
I want to be able to access Fathom with this URL: https://analytics.craigrussell.io.
In order to do this, I needed to configure DNS records so that any request to analytics.craigrussell.io is redirected accordingly.
This meant creating a new A Record, with the following details:
host:           analytics
ip address:     use your EC2 elastic IP address
ttl:            automatic
So now a request to analytics.craigrussell.io will redirect to the elastic IP address of your EC2 instance. But we still need a way to get that request to the actual Fathom service.
Install Apache
Amazon provide documentation on installing Apache so you should follow that to get going with a basic installation.
Apache Forwarding and Proxy
When your request hits the EC2 instance, we need Apache to redirect it to use port 8080 under the hood, which is where Fathom is running.
To successfully do this, you have to setup a reverse proxy, which you can do by editing the Apache config file.
Apache Config File
Useful things to remember, as you might need these a lot while tinkering with the config:
Config file location:       /etc/httpd/conf/httpd.conf
Command to restart Apache:  sudo systemctl restart httpd
I have provided my working example Apache config file below, but here are some points to highlight about it:
- ServerName needs to match what you configured for SSL and DNS
- SSLEngine needs to be enabled
- SSLProxyEngine needs to be enabled
- You need to tell Apache where to find various SSL-related files (which were generated when you ran `Let's Encrypt`)
- Ensure the port number in the `Location` section matches your Fathon configuration.
Apache Config File - Working Example
# Config file location:  /etc/httpd/conf/httpd.conf

Listen 80

<VirtualHost *:80>
    DocumentRoot "/var/www/html"
    ServerName "analytics.craigrussell.io"
    ServerAlias "analytics.craigrussell.io"
</VirtualHost>

<VirtualHost *:443>
    ServerName "analytics.craigrussell.io"
    SSLEngine on
    SSLProxyEngine on
    SSLCertificateFile /etc/letsencrypt/live/analytics.craigrussell.io/cert.pem
    SSLCertificateKeyFile /etc/letsencrypt/live/analytics.craigrussell.io/privkey.pem
    SSLCertificateChainFile /etc/letsencrypt/live/analytics.craigrussell.io/chain.pem

    <Location />
        ProxyPass http://localhost:8080/
        ProxyPassReverse http://localhost:8080/
        ProxyPreserveHost On
        ProxyErrorOverride Off
    </Location>
</VirtualHost>
Testing it works
At this point, before you even touch your website, you should check the installation works.
You should be able to access Fathom using the URL you configured above, and it should be available for HTTPS calls.
In my case, I can access https://analytics.craigrussell.io from any browser which confirms my installation is working as expected.
If you can’t access yours at this point, something is wrong. You need to revisit the steps above to figure out what happened.
If you can’t access the service directly from your browser, your analytics requests won’t make it through to your Fathom instance, and it’ll record nothing.
Add Tracking Snippet to your Webpages
The final step is to add the tracking snippet to your web pages.
You can find the tracking snippet from the web console available from loading Fathom in a browser. Hit the cog to see site settings, and it’ll provide a script you can copy into your webpages.
It’s usually best to copy this script into the <head> HTML tags.
When copying the script, ensure it contains your publicly-visible domain where Fathom is reachable (and not localhost for example).
Again, to test, you should be able to reach the tracker.js page directly on your analytics domain to verify it’s working as expected.
Done! 🎉
You’ve configured your own Fathom analytics instance on EC2.
In doing so, you’re doing your part to look after the privacy of your site’s visitors while still getting basic insights into which pages on your site are being viewed most.
Home